
Viewing Azimuth, Elevation Angle, and Elevation
Photo Manager
The Photo Manager allows users to edit, reorder, move, flag/unflag all photos and individually, download, view high resolution photos, and delete photos.
1. From the project view page, click on the photo manager icon in the top right corner. The number in the purple circle tells you how many photos you have in this project.
2. Hover your mouse to the right side of the photos you want to edit and click on the 3 dots.
3. Click on the photo/s you want to edit and then choose to flag, unflag, move, or delete. Click on "Done" when you are finished.
4. You can drag and drop a photo to reorder within a field. The new order gets saved when clicking "Done".
5. If you want to move photos to a different field, select a photo and click "Move". You can then select the field you wish to move the photo to.
6. On the right side of the photo manager, you have the ability to edit photos individually. You can flag photos, edit photos, download, archive, and delete.
7. To view the full size of a high resolution photo, the zoom icons are located on the top left. You can toggle between the 640px version, original version fit to the screen, and original version with scrolling. When you choose one of the options it will "stick" for all photos, until you choose a different viewing option.
8. When the zoom level 1 is selected (2nd icon), the original version of the image is shown but is sized to fully fit on the screen. Selecting zoom level 2 (3rd icon), the original version of image is displayed full size and the user can scroll around to see the all parts of the image.
9. To exit out of the photo manager, click on the X to the top right of the photo.
10. To locate the thumbnail for the currently displayed photo - click the “Target” button at top of thumbnail view and it will scroll to the current photo.
11. To download the image zip file, click on the download icon.
12. Choose which photos you want to download and select the various features. Click on "Create Zip File".
13. To flag all photos/videos and unflag all photos/videos, click on the flag icon. Select either "Flag All" or "Unflag All". Flagging all photos and videos will show the yellow flag icon on all the photos.
Flagging Photos
1. This feature allows Admins/Managers to flag photos in a project and only have those flagged photos display in the Full Photo and Data report, Medium Photo, Job Cost, and Full Photo Sections Report.
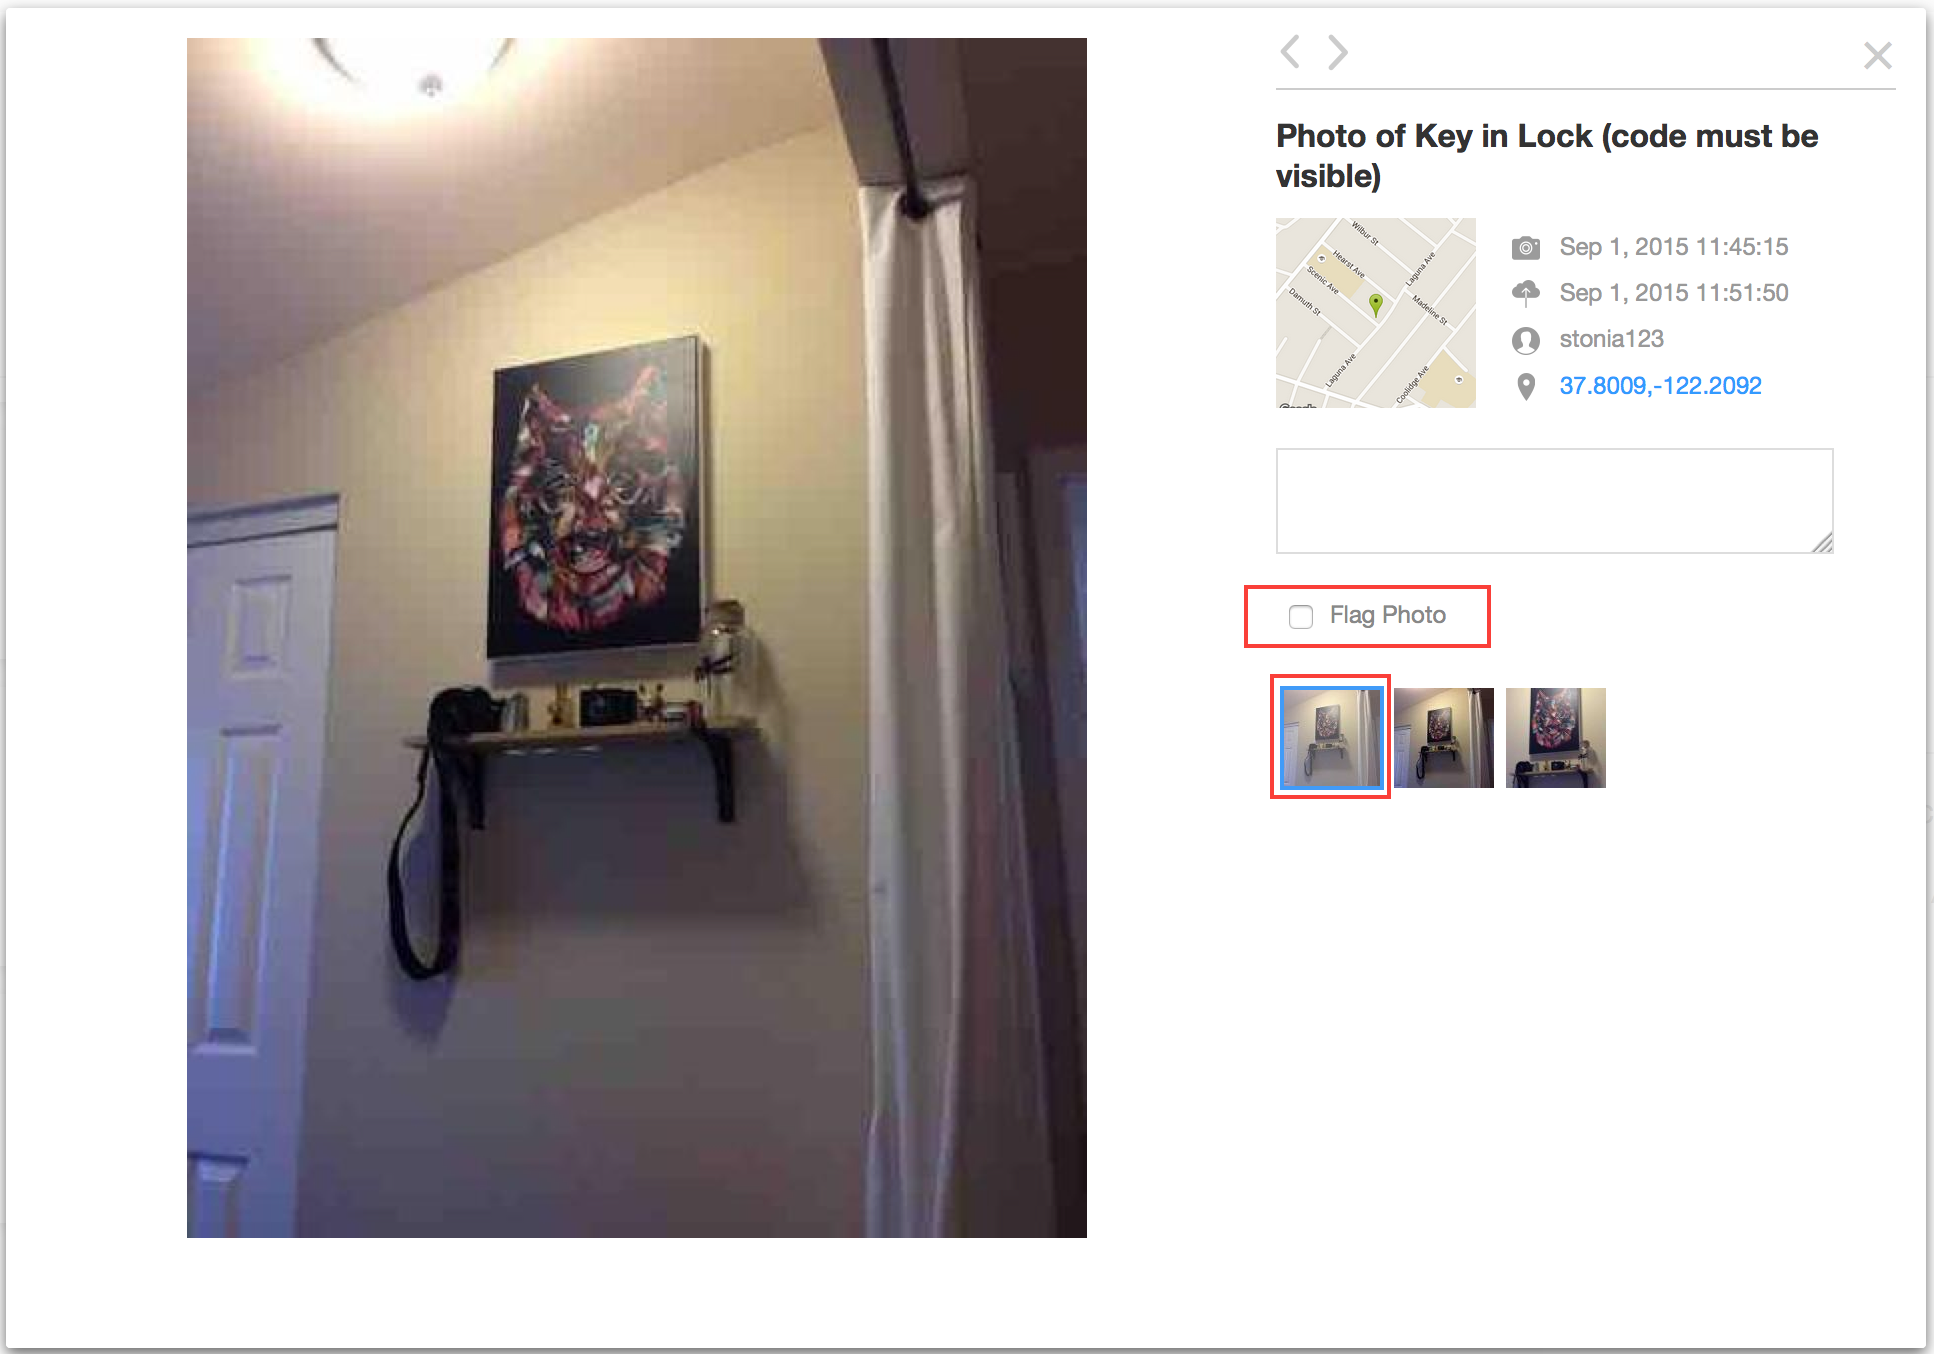
2. Click on the Photo Viewer and select the photo you want to flag. The photo will highlight with a blue border and check the flag photo box.
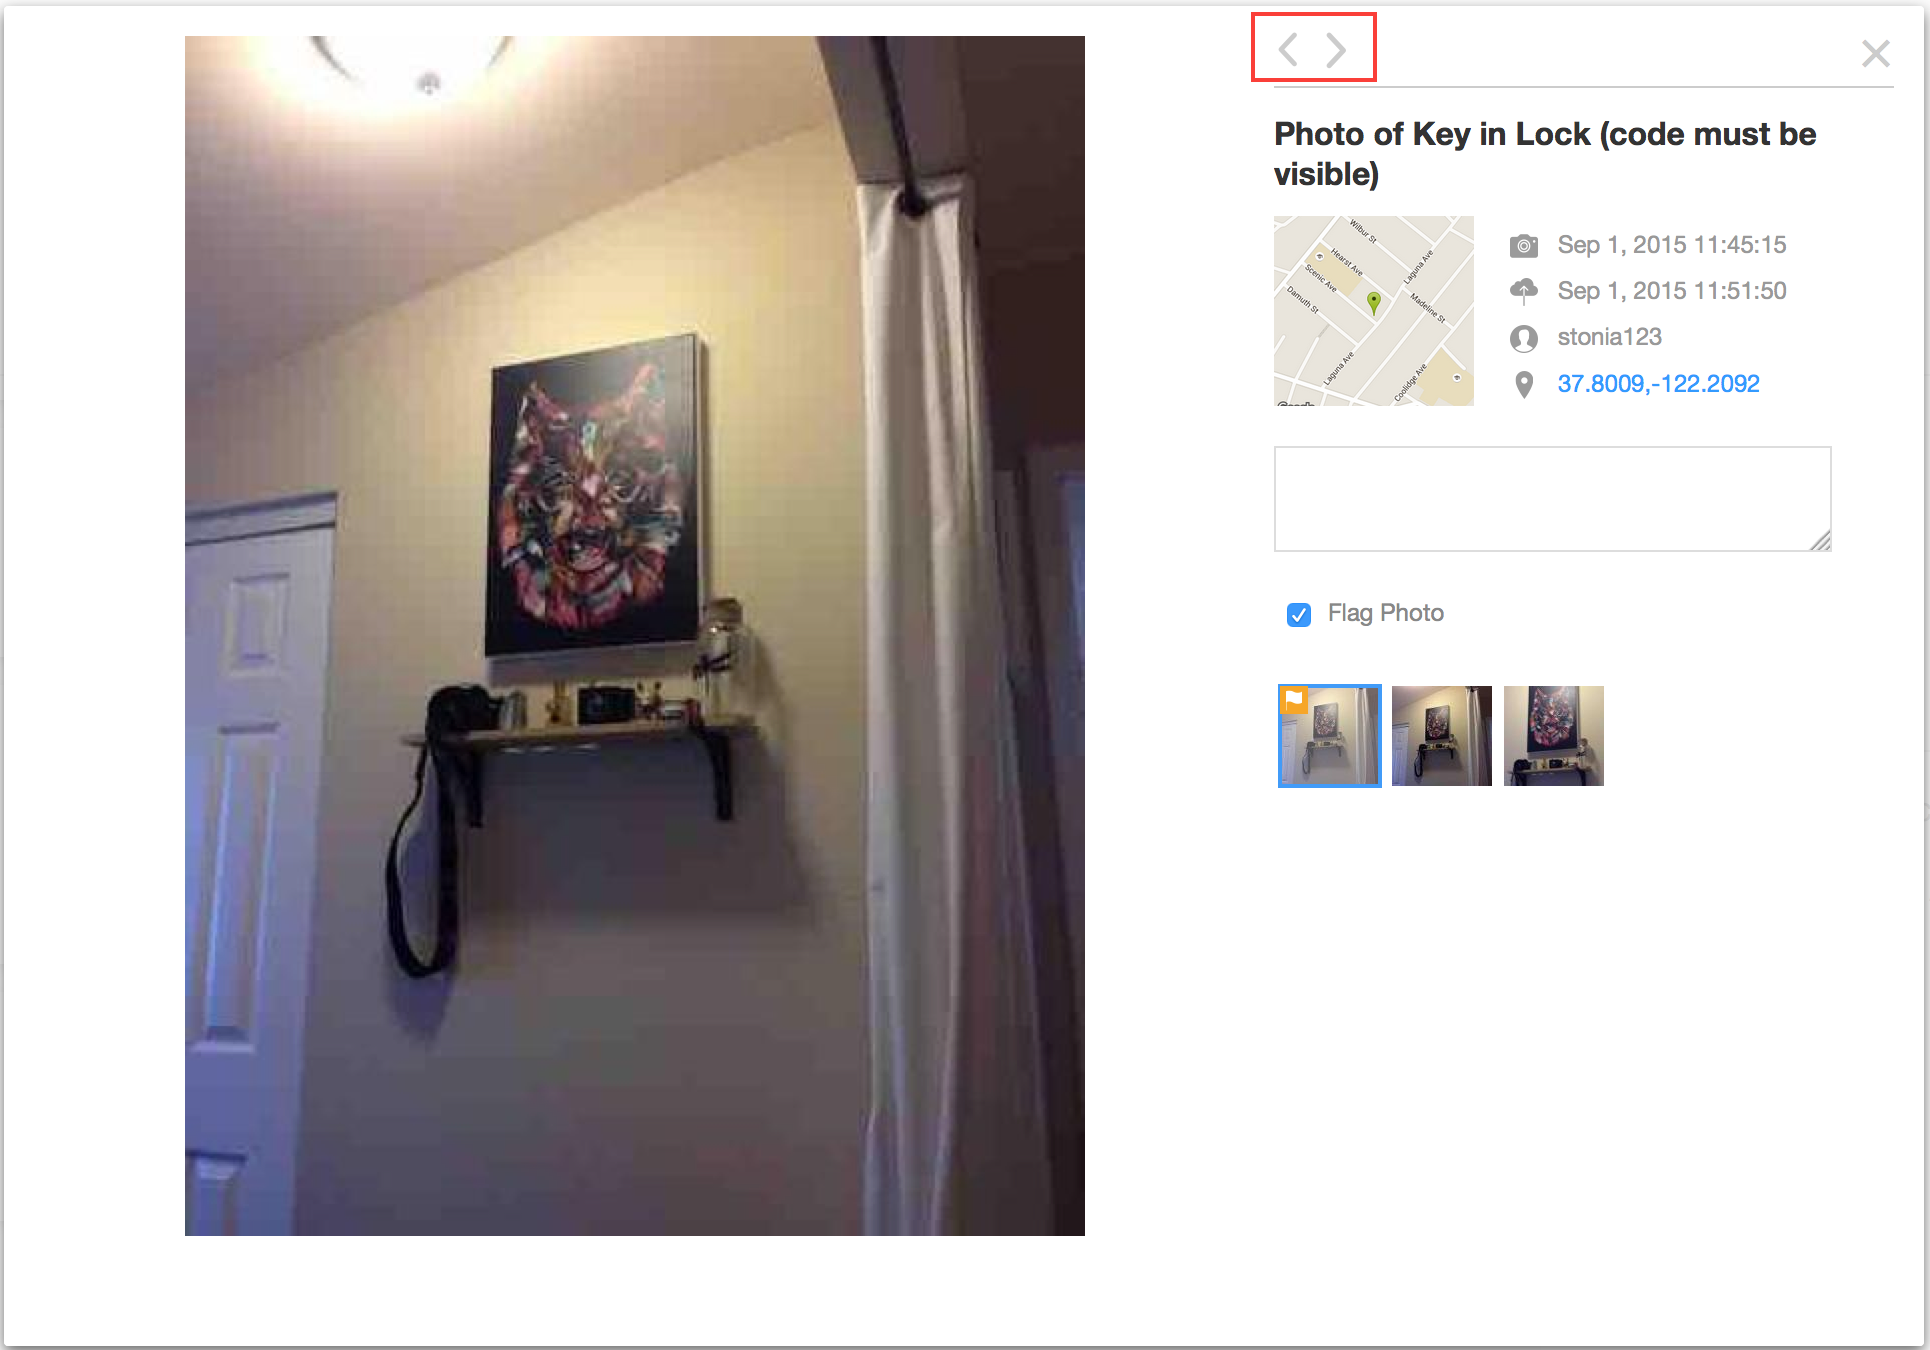
3. Flagged photos will display a white flag icon. Repeat this step for the photos you wish to flag. Click on the top grey arrows to page through the different fields.
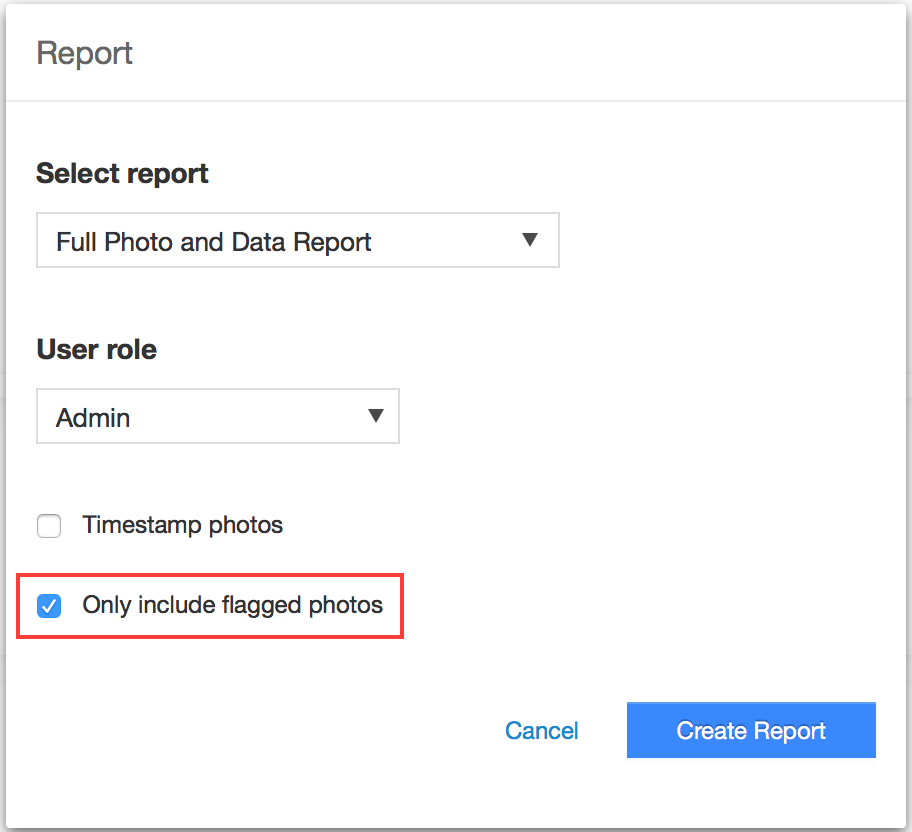
4. When you are done flagging photos click on the PDF report. Choose the Full Photo and Data Report or the Medium Photo report. Select "Only include flagged photos" and Create Report.
Viewing Azimuth, Elevation Angle, and Elevation
1. To view this information in the web portal, click on the photo and the photo manager will open. On the right side of the photo you will see the azimuth (compass icon), elevation angle (triangle icon), and elevation in feet (mountain icon) displayed if this data was captured.
Comments