This feature allows Portal Admins to create and edit a set of custom tags and apply tags to projects. Only the following users can add tags to a project: Portal Admins, Managers, and users who have been granted admin access to the project.
For more information on how to bulk add/remove tags or add tags from the project view page, see: Bulk tagging and bulk removal of tags.
1. Portal Admins can go to Admin>Settings.

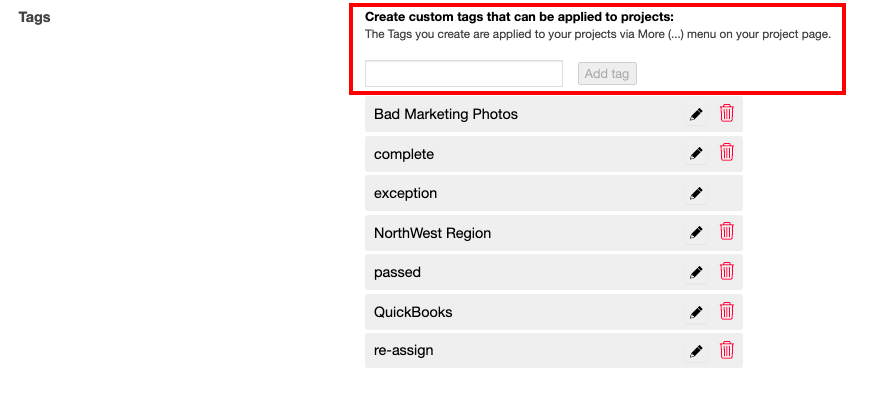
2. Scroll to the bottom and enter the new tag(s) in the box. Click on "Add tag".
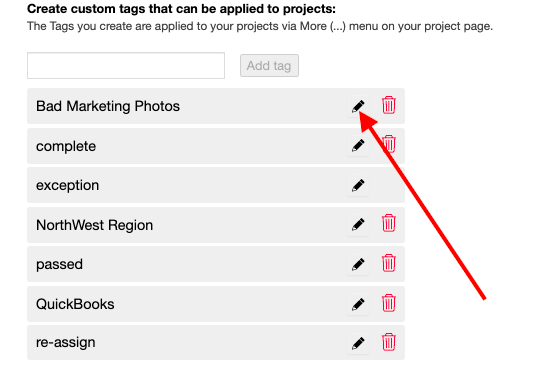
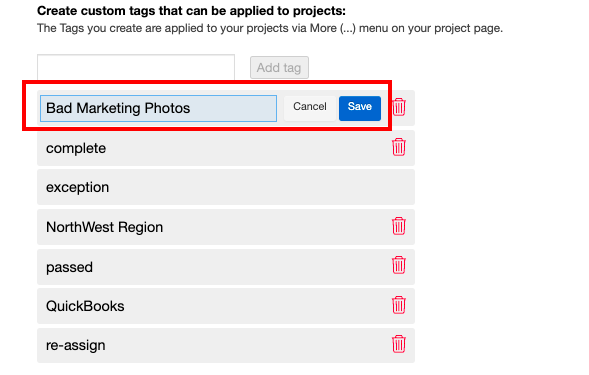
3. To edit an existing tag, click on the pencil icon to the right of the tag name. Enter the new name in the box and click save.
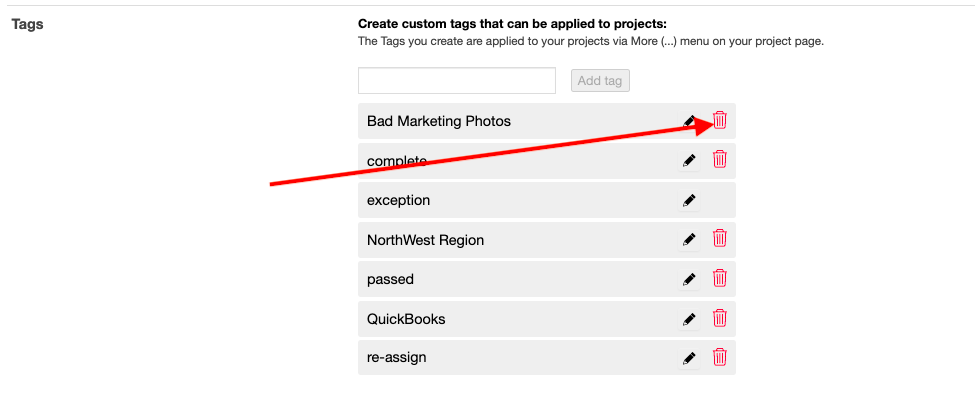
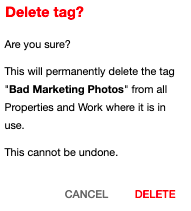
4. You can delete a tag by clicking on the red bin to the right of the tag name and clicking on "Delete" on the pop up.
5. After you have added your tags, you can now add these tags to projects/work. In the project, click on the 3 dots on the right and then click on "Tags...". To add tags, the user must either have admin access to the project, or be an Admin or Manager user.

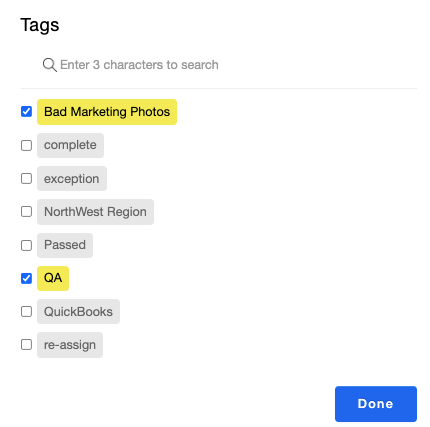
5. Click on the box next to the tag(s) you would like to add and click Done.
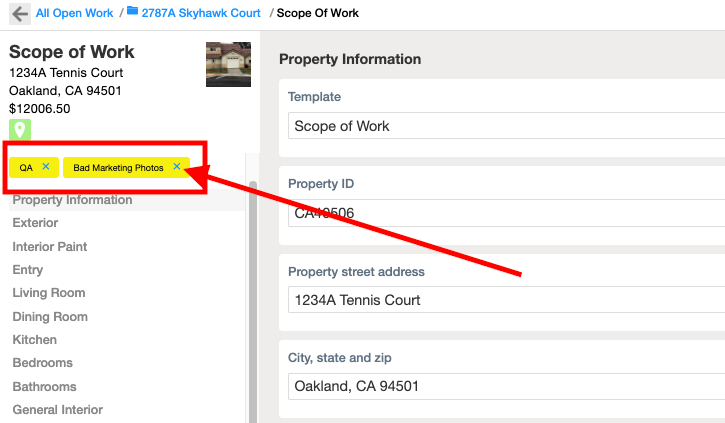
6. The tag(s) will appear highlighted yellow, on the left underneath the project information. If you want to remove the tag click on the blue x.
Comments